
Context
AV Motors is a car dealership in Southern California that is looking to rebrand their business, and simultaneously learn to take advantage of digital marketing in an effort to modernize themselves and capitalize on contemporary marketing opportunities.
Goals
- establish a strong online presence
- create a cornerstone for the dealerships digital marketing
- convert online users to instore customers
- expand the organic audience through SEO
Colors
The blue is inherited from the dealerships original logo, and is used for visual highlights alongside neutral colors to avoid dilluting the color scheme.
-
#2d728f
This blue is inherited from the original logo, and is used for call-to-action highlights across the website
-
#000
Black is used to help convey the serious tone that reflects the businesses focus on competitive sports
-
#eee
A neutral grey to help establish visual hierarchy
Detailed Explanations
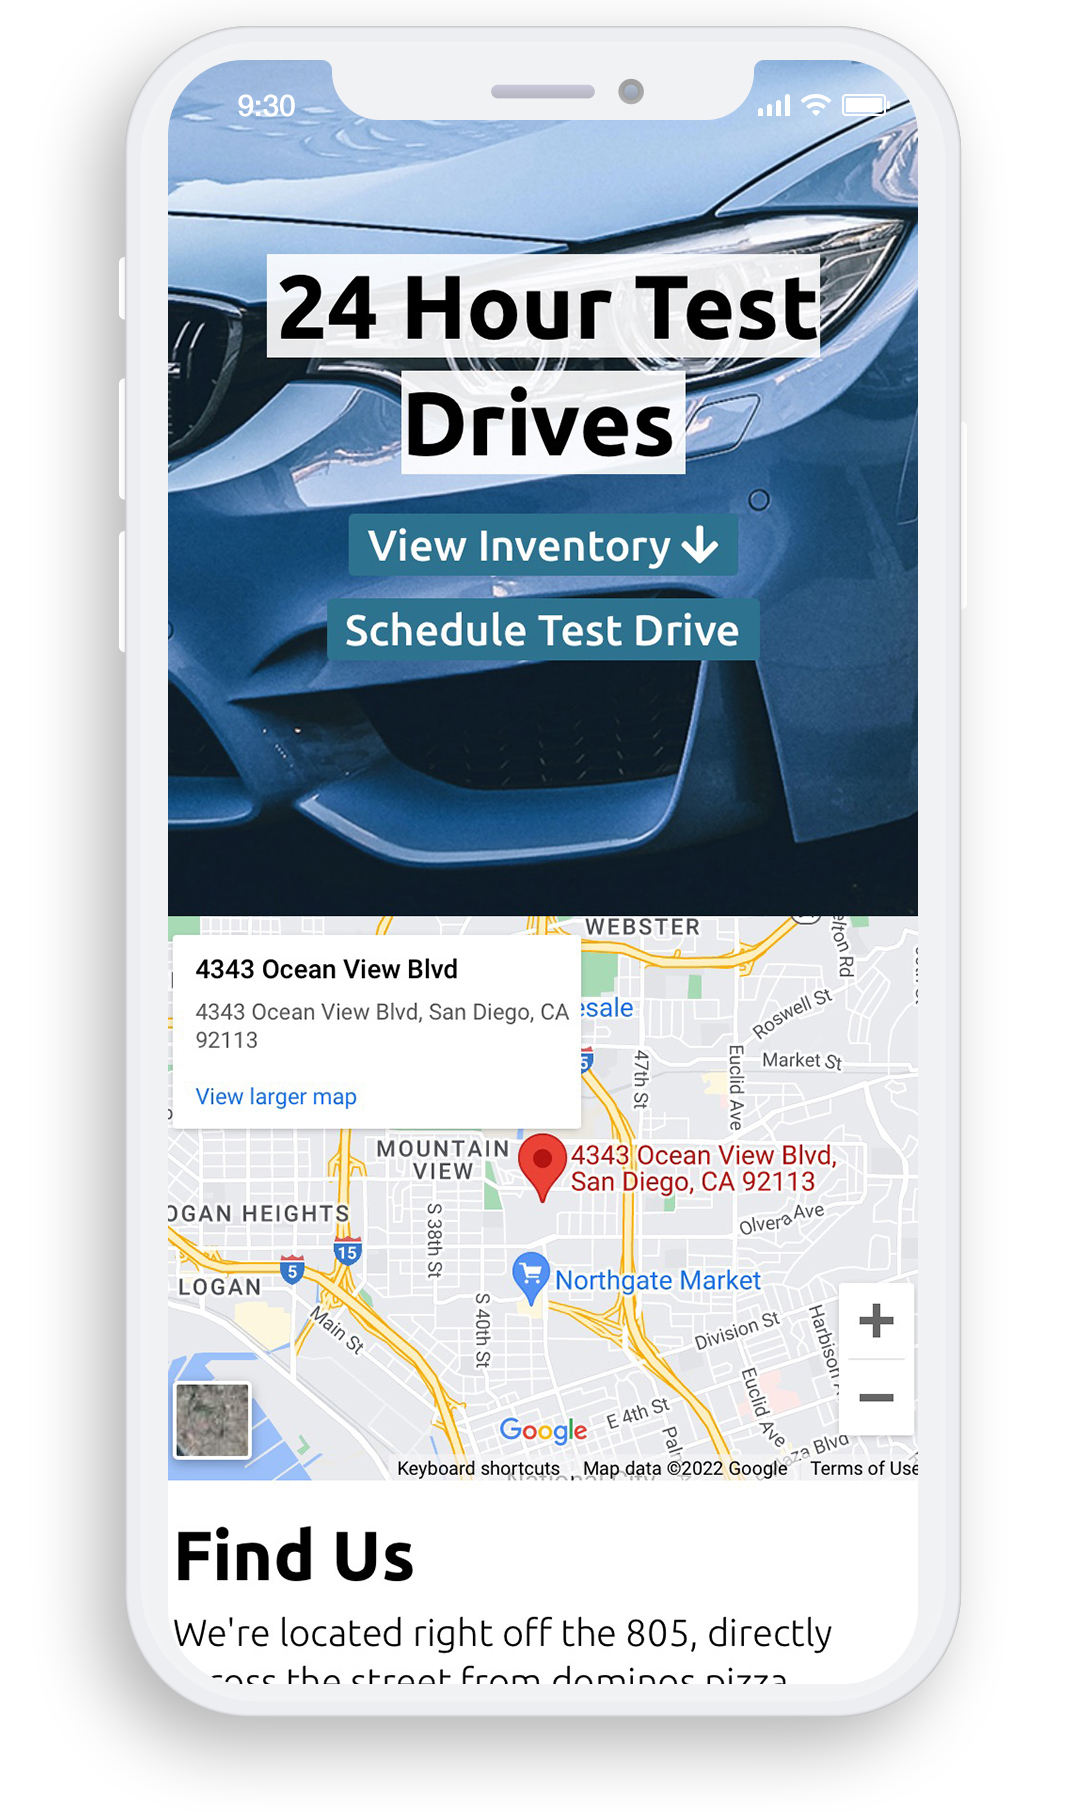
Walk-in test drives remain the norm for the dealership, but allowing users to schedule appointments makes it far more likely that they will come into the physical location, and therefore they're more likely to buy a car.
It's important to ensure that you have a clear call to action on a business website.
We start out with a mention of the available 24 hour test drives, as we ultimately plan to lead the user to schedule a test drive appointment, and come into the physical location.
Interactive Maps
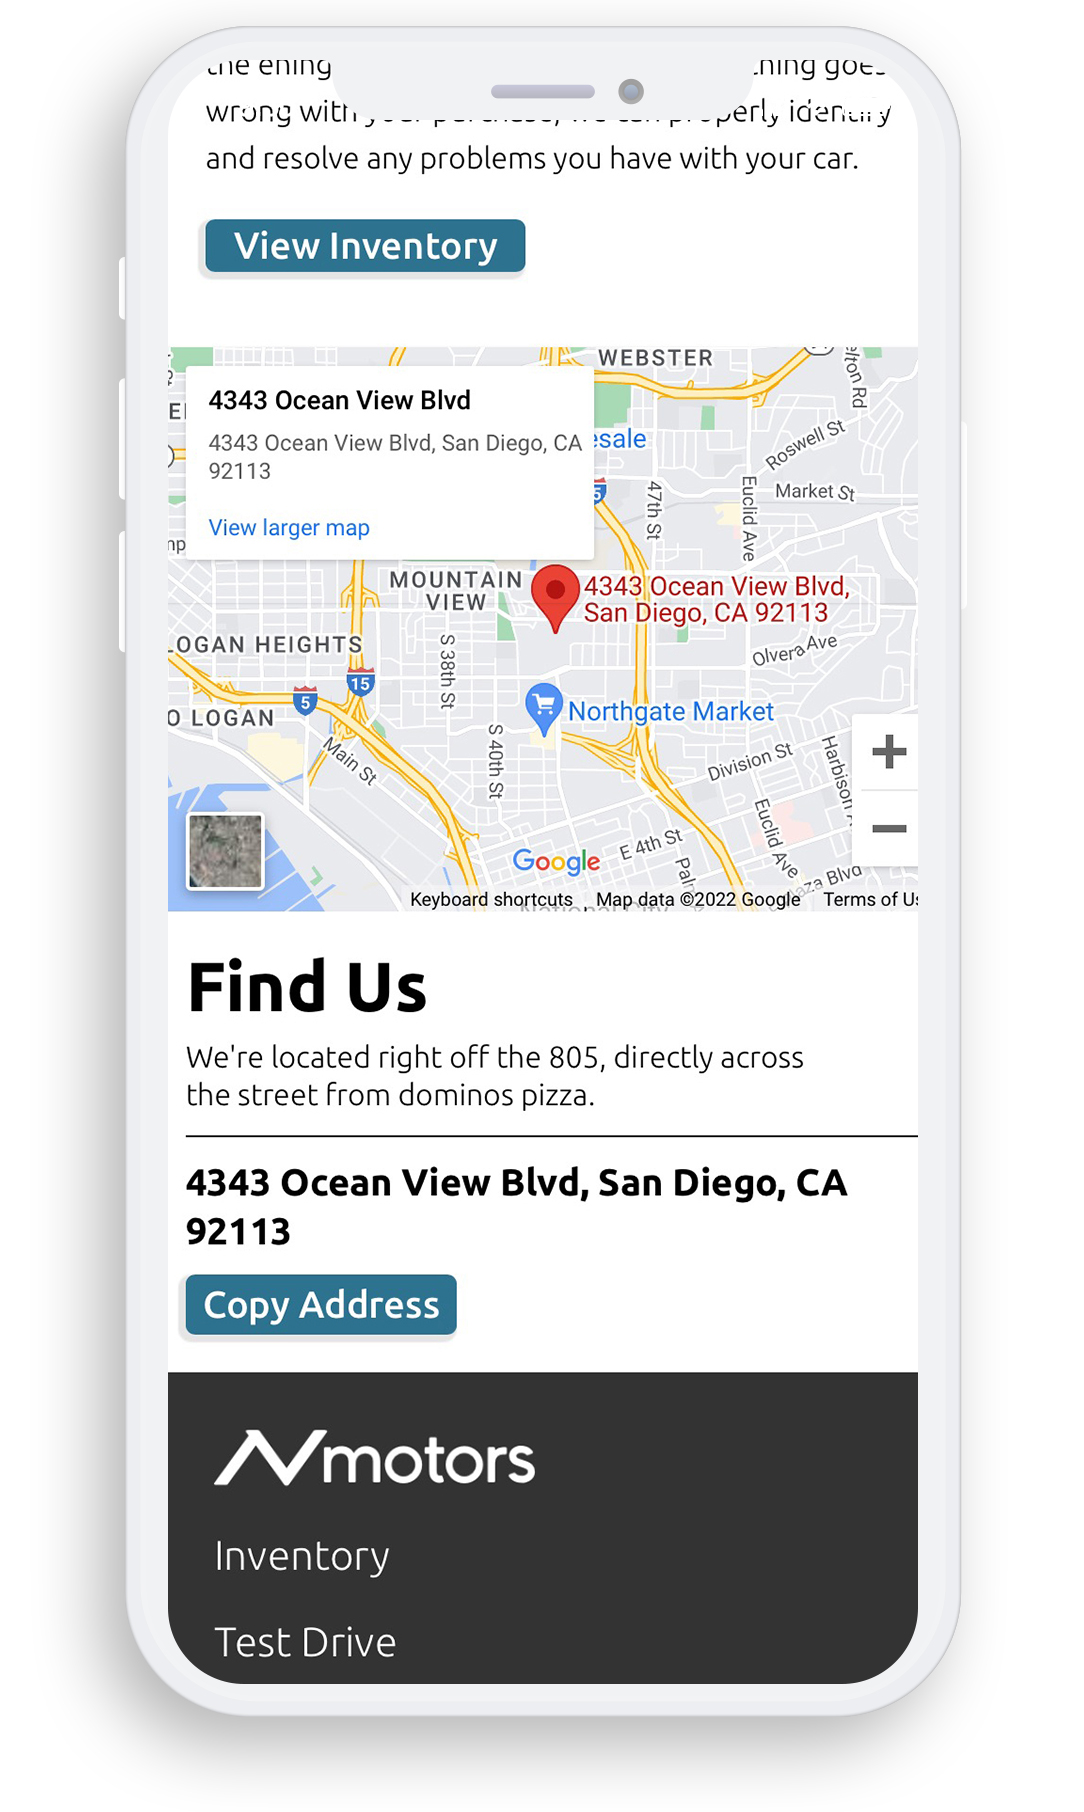
Interactive maps make it easier for users to quickly learn where the dealership is, and allow mobile users to quickly switch to their GPS applications.
The interactive map is easily created with googles api. It is injected through the src attribute of the iframe tag, which links to google's API and features the specified address as a query string variable.
-
JavaScript
<iframe height="300" id="gmap_canvas" src="https://maps.google.com/maps?q=4343 Ocean View BLVD, San Diego, CA 92113&t=&z=13&ie=UTF8&iwloc=&output=embed" frameborder="0" scrolling="no" marginheight="0" marginwidth="0">
Source Code
Reduced Friction
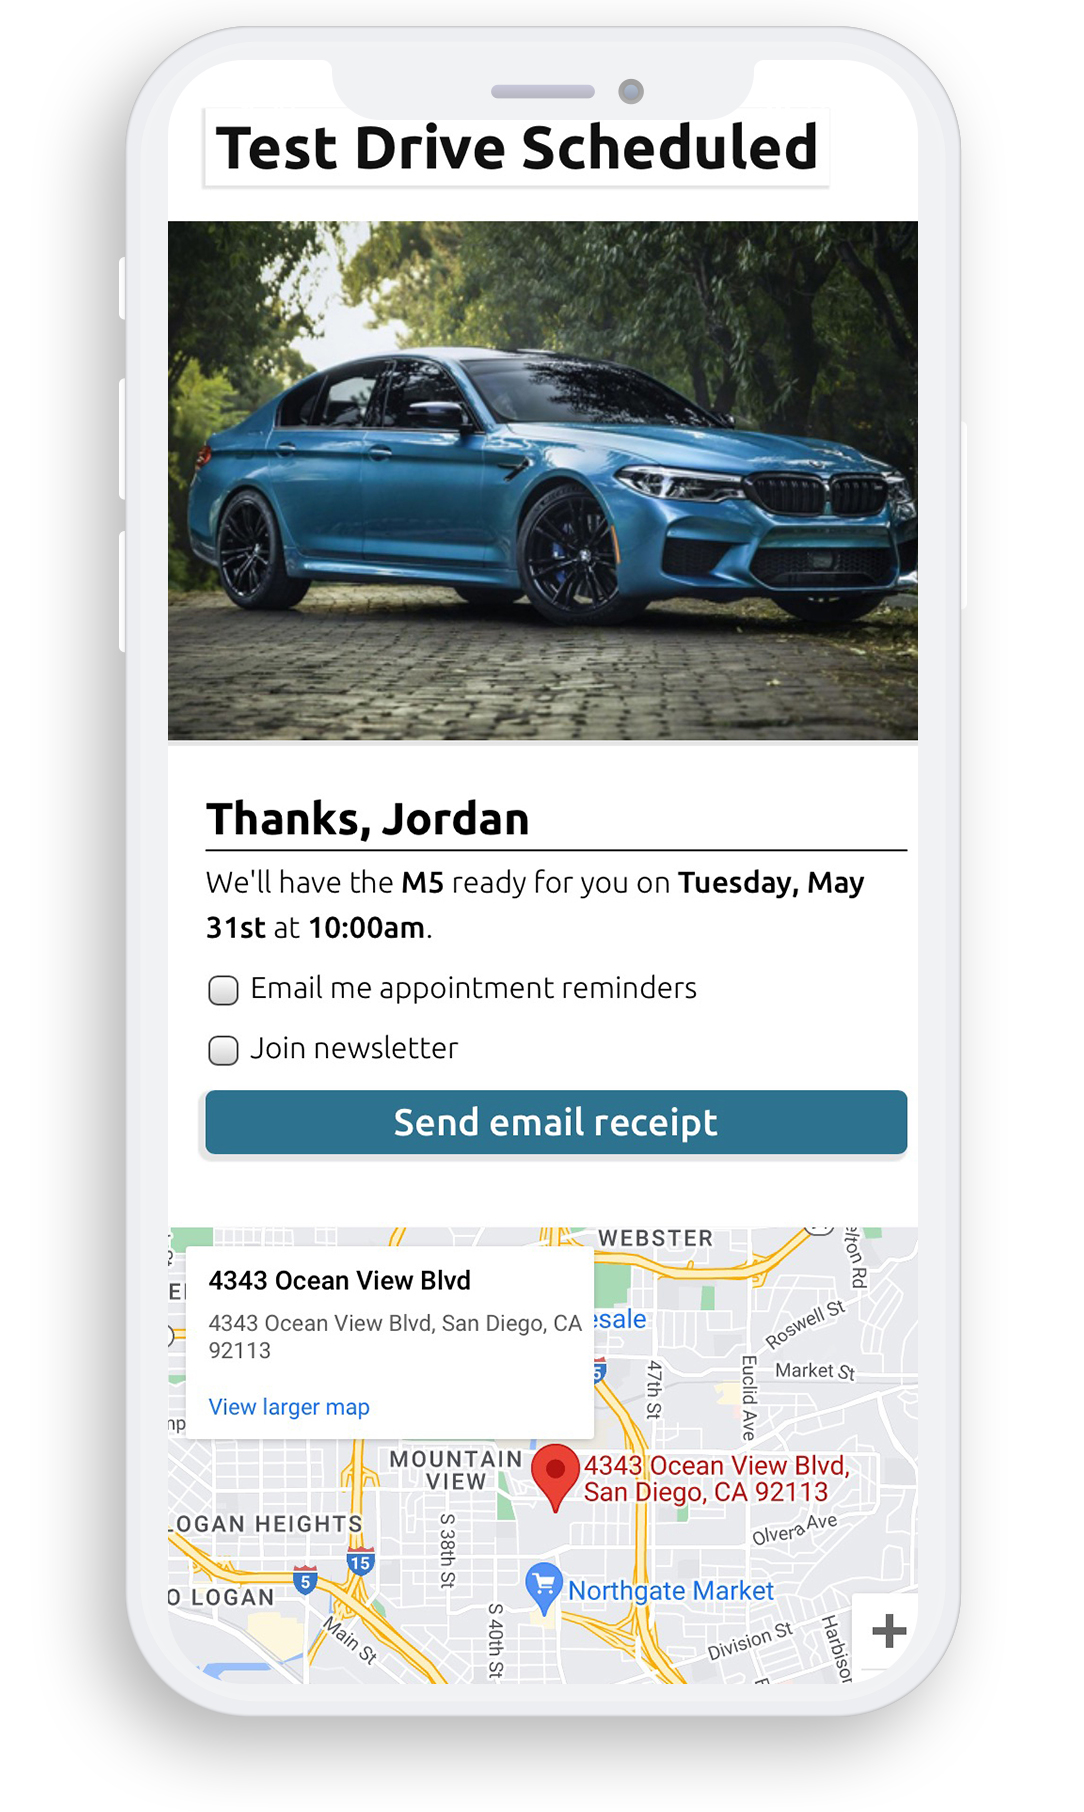
Since the user has already given you their email address and name, the confirmation page provides you with an opportunity to ask if they'd like to opt in to other services, like weekly newsletter emails without having to fill out another form.
We have access to the information submitted in the form on the previous through the POST and SESSION data
From here we can use an asynchronous call to the backend (AJAX / fetch api) to tell the server to sign the user up for the weekly newsletter, or for appointment reminders.
-
AJAX
// quickly exchange data with server behind the scenes
fetch('https://example.com/api/send_email_receipt?action=send_test_drive_email_receipt')
  .then(response => {
    if (response.ok) {
      // update button text on success
      sendEmailReceiptButton.innerHTML = 'Email Sent!';
    } else {
      // handle errors
      console.error('failed to send email receipt');
    }
  })
  .catch(error => {
    // handle errors
    console.error('error:', error);
  });
Source Code
Offer Value
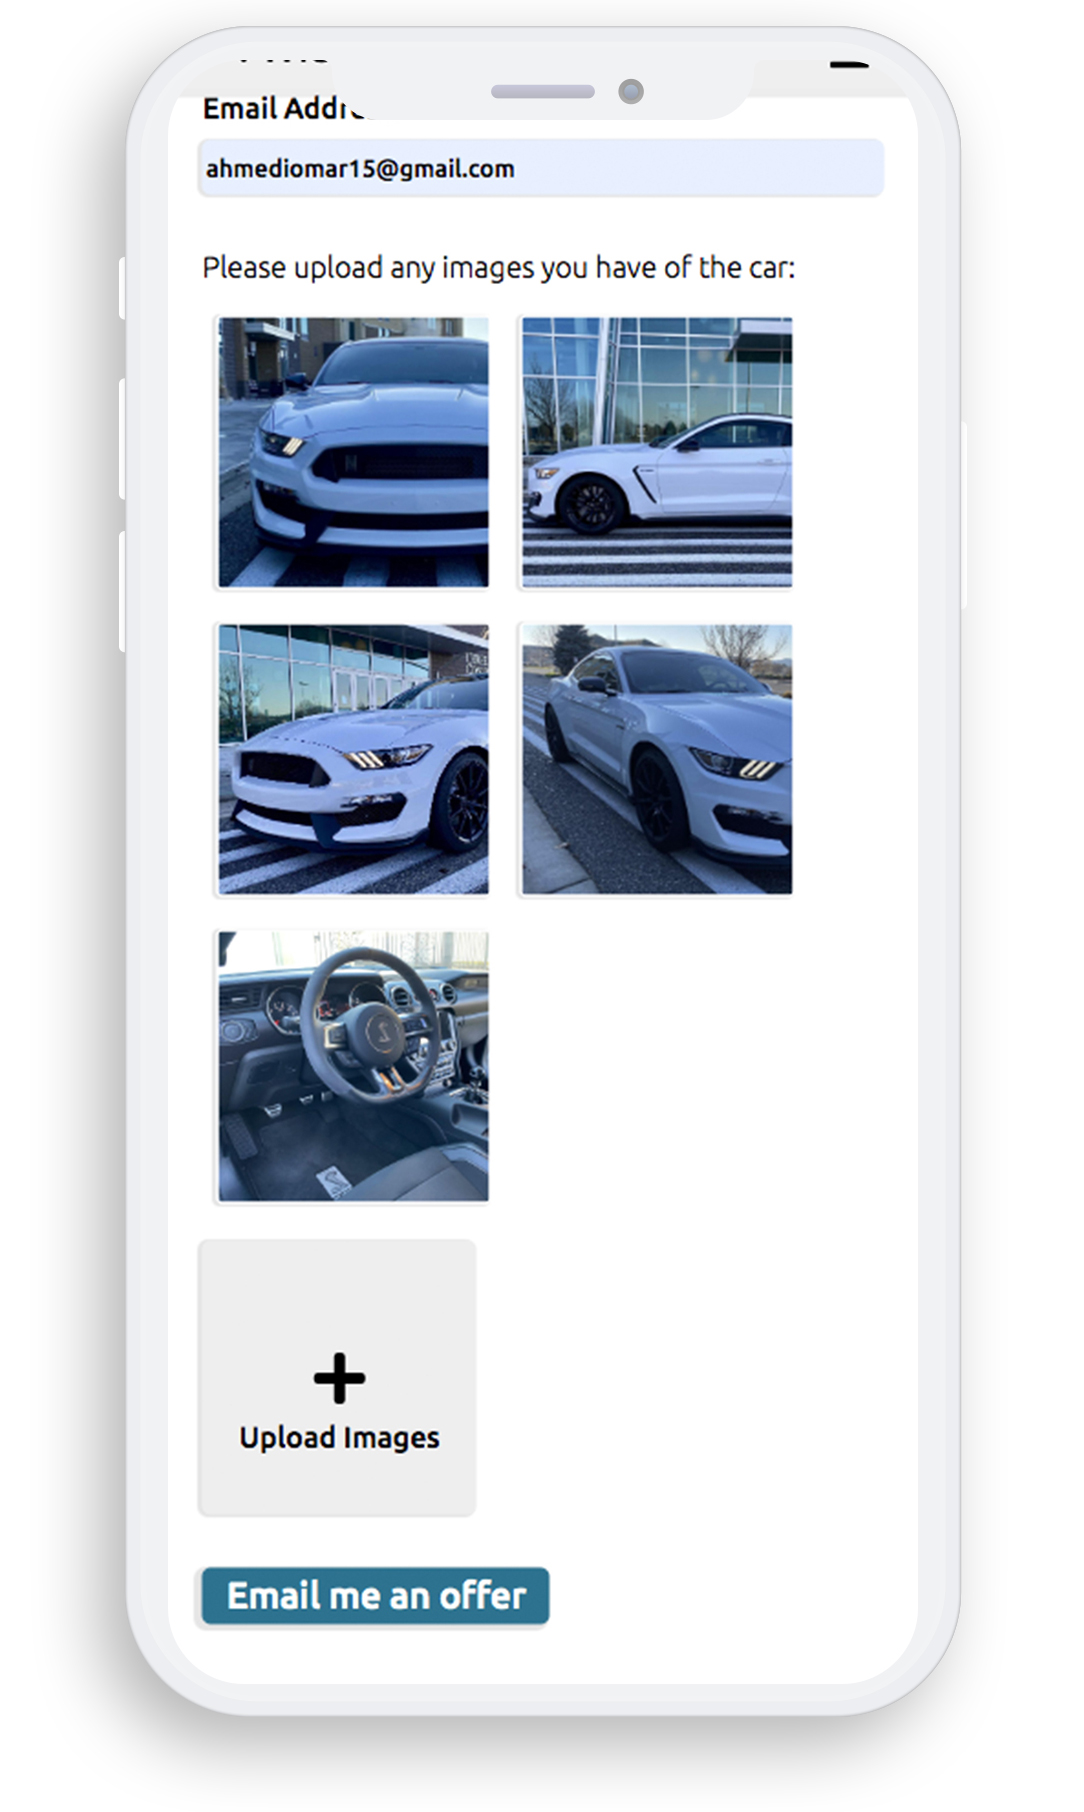
The trade-in form enabled users to quickly send information about a car they'd like to trade in. From here the dealership can make a basic assessment of the car's value, and email the customer an approximate offer for their car.
This quick form can help the dealership form relationships with more customers, since submitting a form and receiving an email is a low friction method of lead generation, as opposed to depending on customers to take the first step by calling and/or visiting.
-
AJAX
function uploadTradeInImg() {
  uploadImgsCount++; // increment the count of uploaded images
  carImgUploadInput.classList.add('hide'); // hide the current input

  // create a new input for the next file upload
  const newInput = document.createElement('input');
  newInput.type = 'file';
  newInput.name = `fileToUpload${uploadImgsCount}`; // unique name for each file
  newInput.id = `fileToUpload${uploadImgsCount}`; // make the id unique too
  newInput.onchange = uploadTradeInImg; // bind the function to the onchange event

  // append the new input to the trade-in form
  uploadImgsLabel.appendChild(newInput);

  const [file] = carImgUploadInput.files; // get the uploaded file
  if (file) { // check if there's a file
      const imgUrl = URL.createObjectURL(file); // create a URL for the file
      uploadedImgsContainer.innerHTML += `<div class='uploaded-img-display' style='background-image:url(${imgUrl});'></div>`; // display the image
  }
  carImgUploadInput = newInput; // reset the input for the next upload
}